Mirror ceilings: varieties, advantages, examples of use in interior design
The mirror ceiling is not so common, but, of course, an unusual move in the design of the living room. Often, just such a bold decision presupposes the correct arrangement of accents, a certain stylization and concise design of the space as a whole. Consider the main advantages, varieties of mirrored ceiling surfaces, as well as spectacular photo examples of their use in the interior.


- It's no secret that mirrors in the interior are a great way to play with space. Mirrored ceilings visually expand the boundaries, make the room lighter, create a special mysterious atmosphere.
- Even the mirror surface does not exclude the possibility of choosing the perfect shade for a certain interior.
- Mirror tiles hide uneven floors.
- Due to the high moisture resistance, a mirror ceiling is often used in bathrooms.
- With this design decision, aluminum, glass and cassette coatings can be combined. Mirrored plastic - more practical, but less moisture resistant.
- Easy to care. It is enough to wipe the mirror ceiling as it becomes dirty with a rag and a special solution for glass surfaces.


There are 4 types of mirror ceilings:
- tension;
- glass;
- from polystyrene tiles;
- cassette or rack.


Mirror stretch ceiling
For this type of PVC film creates a reflective effect, which is close to the mirror. The only difference from a real mirror is that the reflection is slightly blurry, but in the interior it looks most calm and natural. A great option for a bedroom.
It is not recommended to independently mount a mirror suspended ceiling. The professionalism of skilled craftsmen is important here. Yes, and you can not do without special equipment.


Mirror polystyrene plates
Initially, ceilings made of polystyrene plates are a material rolled up. Before installing it, you can straighten it in several ways:
- lay on the floor and allow yourself to straighten up. A similar method is advised by experienced specialists, but it takes time;
- expand the panels and twist in the opposite direction for about a day;
- Press the unwound roll with a heavy object that will straighten the material in a few hours. But this method is valid only in emergency situations, when there is absolutely no time to wait.

A polystyrene ceiling is installed quite easily, since on the other hand there is a self-adhesive surface that will provide reliable adhesion to the ceiling. Installation takes place in several stages:
- First of all, you need to remove the film from the adhesive side;
- attach the tile to the ceiling with the self-adhesive side and press down with effort.
- to eliminate air bubbles, you need to hold a rubber roller on the surface.

In the absence of an adhesive film, polystyrene panels are fixed using prepared mixtures based on PVA.
If earlier the ceilings were painted with enamel, which peels off, it must be completely removed with a spatula or trowel. As an option, you can attach drywall. Tiles are attached to it just as easily, and this will not affect the general appearance of the interior.
Note: in a room with mirror panels, it is better to avoid very hot lamps - they can deform the mirror coating.

Classic glass mirror ceiling
Such ceilings definitely have a lot of advantages over the others:
- maximize the space;
- resistant to high humidity;
- have a high degree of light reflection;
- allow you to evenly and very efficiently illuminate the room with built-in lights;
- easy to install, and during the installation process there is no any debris and construction dust;
- very aesthetic.

To make a mirror ceiling, you must follow certain instructions. At the beginning of the work, the shape and color of the panels are determined, which will most successfully harmonize with the overall interior. Tiles are adjusted to the desired size, then cut. But you shouldn’t do this on your own, because in order to cut glass panels qualitatively and without scratches, you need special equipment. Next, level the ceiling, attaching plasterboard or plywood to them. This is the only way glass tiles can fully demonstrate their best qualities.

The panels are fastened with glue or screws. If glue is used, then the inside is carefully smeared with the composition and carefully pressed to the ceiling. It is very important to wait a bit until the panel attaches. If you let go immediately, the glass will fall off and break. In the second case, the tile in four corners is drilled with screws for the diameter of the screws. Rubber pads are put on the tips to avoid scratching the glass. After all the work done, the screw heads are masked in chrome or aluminum caps.

All steps must be carried out with utmost care, since the glass is very easy to damage, and then it will lose all its attractiveness, and will not look so impressive in the interior of the room.

Mirror rack ceiling (or cassette)
It consists of long aluminum strips with a beautiful mirror coating. Presented in different colors, but it is important to understand that the color of the slats should not contrast with the plates.
Cassette rack ceilings are easy to install, efficient to operate and easy to maintain, and are therefore popular.

Ceilings with reflective and mirror surfaces are a spectacular solution that is often used in the design of different rooms. See photos and get inspired to create your own unique interior.
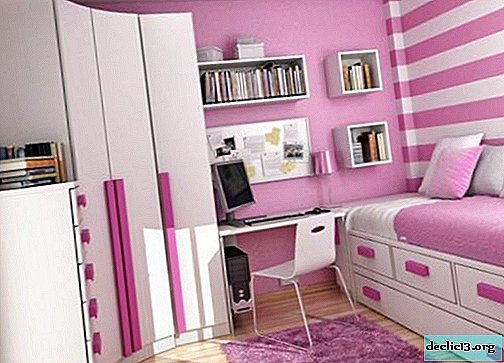
Mirror ceiling in the living room


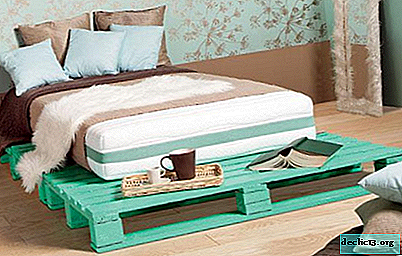
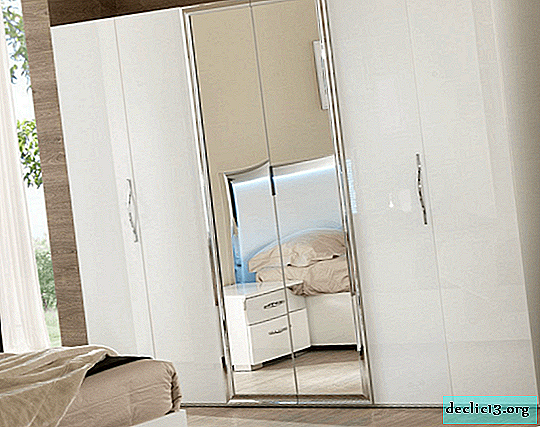
Mirror ceiling in the bedroom


Mirrored ceiling in the bathroom


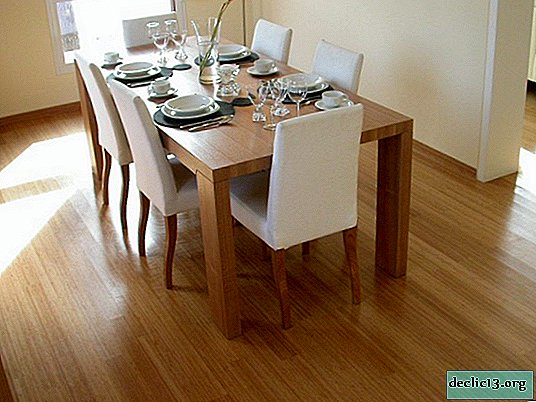
Mirror ceiling in the kitchen


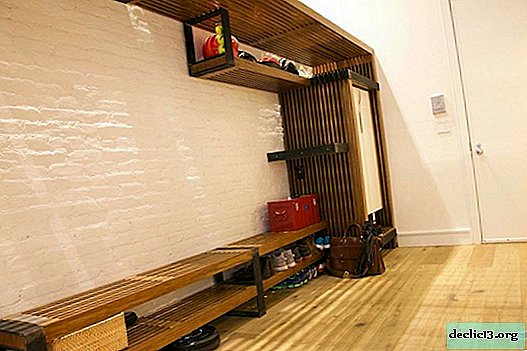
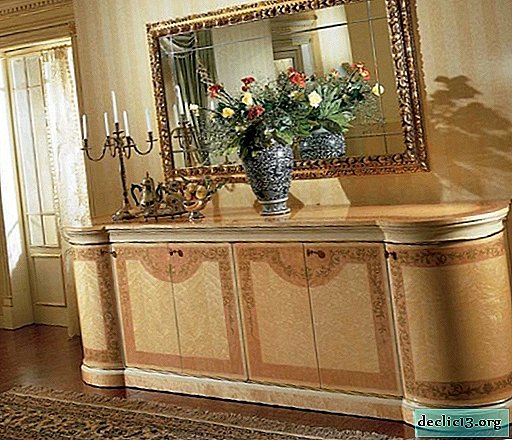
Hallway Mirror Ceiling


Watch the video: Interior Design. Decorate a Small Bedroom. Small Apartment. #12 Reality Show (November 2024).


-
Is it possible to rejuvenate anthurium, and how to do it at home?
Anthurium has become a very popular indoor plant, which is popularly called "male happiness." Its glossy leaves and gorgeous flowers leave few indifferent. Anthurium can bloom for a long time and at any time of the year. Caring for this epiphyte is simple, especially if you follow the rules of cultivation, care and reproduction. ... -

-
-