Making a built-in cabinet with your own hands, useful tips
If you have a small apartment, where there is not enough free space for placing things, wardrobe items, it’s worth making a built-in wardrobe with your own hands, you can remodel niches or openings in the walls in Khrushchev, or equip an attic for a wardrobe. This will save space, which is not enough, and money. Of course, this activity is rather laborious, but, having prepared correctly, you can create or remake a really convenient built-in design.
Project drafting
When making a built-in cabinet with your own hands, the first thing you need to think about is drawing up a diagram, calculating the required materials. In the calculation, all the nuances should be provided so that the use of finished furniture is as efficient as possible. It is worth considering where cabinets, shelves, hangers and other elements will be located for convenient use of the cabinet. An important advantage of the built-in wardrobe for Khrushchev owners is the possibility of being built in "for themselves" in order to maximize the use of all free space with lockers, select the optimal shelf sizes, and choose the location of all the elements.
Better if closer to the ceiling rods for trempels will be built in, this will usefully use the cabinet space from above. A sufficient distance between the shelves for clothes is up to 40 cm. If you plan to build in a TV, music center or other equipment in the future, you should allocate a place. If you make built-in kitchen furniture, think about the oven in advance. She will need a special place.
Be sure to make drawings, where you can clearly see how the built-in furniture will look. If there is no proper experience in compiling them, you can find ready-made projects for the calculation, manufacturing of embedded structures with the drawings below. It shows in detail how to make a built-in cabinet with your own hands in Khrushchev, as well as specialists who are familiar with cabinets, or home craftsmen who have already done the calculation when they built the kitchen for a new oven in the country with their own hands or made a corner cabinet with their own hands and give useful tips. There will also be photos of finished converted projects. You can use the help of computer programs to design a built-in closet with all the smallest details and diagrams.
Important design features:
- depending on whether the walls are even, the ceiling in the place where the cabinet is planned to be built, the front of further work is determined. It is necessary to exclude all surface irregularities so that the structure is stable and does not collapse;
- all accessories should be of the same style and color, located at the same distance from each other;
- too long panels should be avoided. They are quite difficult to install, they can sag over time;
- great attention should be paid to the floor. Its surface should be smooth and solid. Parquet or linoleum will not be able to withstand too heavy furniture, and the laminate will go in waves;
- when installing all the elements, it is necessary to take into account that large parts of wood will expand by a couple of millimeters due to moisture, so you should leave small gaps between them.
If you plan to add glass or mirror elements to the attic cabinet, it is better to use a special protective coating. It will help protect parts from scratches during operation.


Material selection
Material plays an important role when we plan to make a wardrobe or remodel kitchen furniture for a new oven. Such parameters as strength and durability of the built-in design are taken into account. The most popular are wood, drywall, wood-containing boards. The pros and cons of each material are shown in the table.
| Material | Advantages | disadvantages |
| Solid wood |
|
|
| Drywall |
|
|
| Wood-based boards |
|
|
To avoid the negative effects of moisture on a natural tree, you can treat it with drying oil or a special emulsion.
When choosing a material, one should also take into account in which room the cabinet will be used and under what conditions:
- the built-in drywall cabinet cannot be installed in places with high humidity and with significant temperature differences. For example, near the toilet, in the kitchen where the oven is built-in, or in the attic;
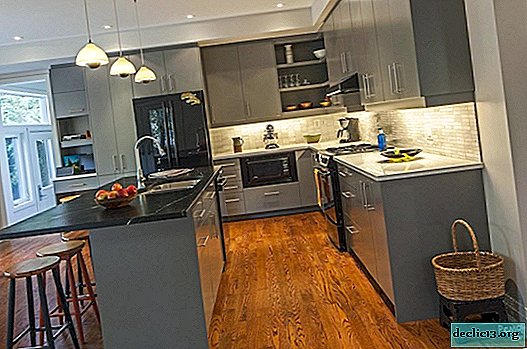
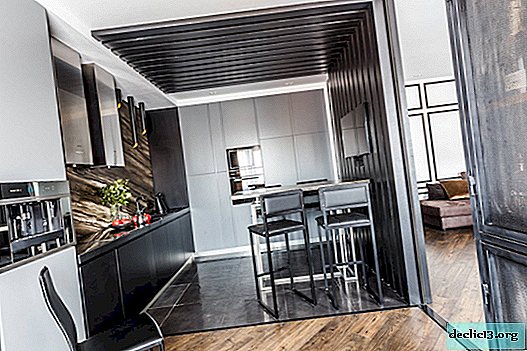
- MDF and chipboard boards are considered a universal option. They are suitable if you plan to make a closet in the toilet with your own hands in Khrushchev, where there is always not enough space, they make excellent built-in kitchens where you can install an oven, also ideal for a summer residence or an attic;
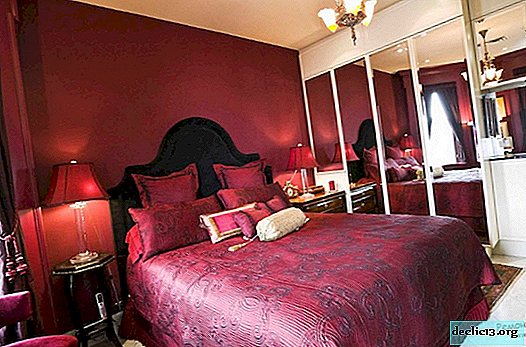
- wood is best used for living rooms or bedrooms. It looks luxurious and presentable in any interior.
If we are talking about a small room in Khrushchev, you can think about the design of a corner built-in wardrobe. When arranging an attic house, for example, if it is a summer residence, the angular location will also be very convenient.
 Drywall
 Solid wood
 Chipboard
Preparation of parts and tools
After you have decided on the design, filling, materials used, you should once again look at the diagram and think about whether you took into account all the nuances before manufacturing. Will you need to add shelves or cabinets, will there be enough space in the cabinet. Before proceeding directly to the construction work, you can watch a video about built-in cabinets with your own hands, which other home craftsmen have already done. This will help you determine the sequence of upcoming work, the calculation of a particular material and tool.
It is necessary to prepare the details for:
- doors;
- wheel guides if doors will open according to the principle of a sliding wardrobe;
- back and side panels, if you install them;
- roofs;
- shelves for clothes and shoes;
- tremp bars;
- fasteners.
 Details
As the back, side panels, floor, elements of the room can be used if the walls are quite even. This will help to significantly reduce material costs. In this regard, new buildings are much more convenient, compared with the Khrushchev. If on the walls there are defects, irregularities, it is better to use a separate structure, which should be attached to the wall. As the back panel, a lighter and thinner material is usually chosen, since the back side is not a carrier.
If we are talking about a sliding wardrobe, it is necessary to lay a solid floor in it so that the structure is even and the parts do not wear out quickly. If the cabinet is built into the wall or in the place where the niche was, you can leave the floor of the room, but it should be flat, covered with suitable material.
As for the tools, they should also be taken care of in advance so that the process of embedding the cabinet is not delayed. For work you will need:
- level, square;
- pencil, awl, sharp knife;
- drill with necessary drills, screwdriver;
- hacksaw for metal.
The set of tools will differ depending on the selected materials, design and features of the cabinet. The preparation of parts should begin with the calculation and cutting of sheets into parts. To do this, draw the necessary elements with a margin of 3-3.5 mm. If there is not enough experience in repairing, working with cutting tools and built-in cabinets, you can order sheet cutting in a specialized workshop or store. There they will do it quickly, efficiently, strictly according to your size. After all the parts are cut into elements, it is necessary to cover the edges with a PVC film.
The final preparatory work is the choice of fittings. This includes handles for doors, sliding shelves, trempels, hooks, Euro screws with plugs.
 Instruments
Sequence of fastening all parts
A built-in cabinet, made by yourself, allows you to maximize the use of available space. If there is such an opportunity, room elements are used as the bottom, roof, side, rear walls. It is rarely possible to integrate a cabinet into a wall without both side walls, this is only possible in a niche or when designing furniture along the entire length of the wall. In any case, such an opportunity to save is worth taking advantage of.
The entire assembly process of the structure can be divided into the following stages:
- mark out future holes for mounting screws. In other words, they transfer the drawing to the wall where the furniture is being designed. This is a very crucial stage, requiring maximum accuracy;
- first set the bottom, and then the walls of the cabinet;
- after the main frame is built in, the back wall is installed and the upper shelves are fixed, this will make the built-in structure more rigid;
- install the roof - even when making a cabinet under the ceiling, you must still leave a gap of at least 7 cm, otherwise you will not be able to fix the "Euroscrews". In any case, you will not be able to use a screwdriver here, just tighten the screws with your hands or pliers, and tighten with a wrench or a "ratchet";
- mount the side shelves with the help of "Euroscrews" or corners, 4 pieces per each shelf. Set rods for trempels, boxes;
- Lastly, the doors are being assembled. Here, the sequence of actions depends on the choice of the type of door - sliding or swinging.
 Preparation of the installation site and drawing development
 Preparing and fixing the frame
 Fastening the frame frames of the future cabinet
 Drywall Cutting
 Drywall Mount
 Putty
Putty Shelf Material
 Mounting shelves and rails
Door mounting
The installation of doors is one of the most important stages in the assembly of a built-in cabinet, since it is the doors that represent the facade of the entire structure. When installing swing doors, you may encounter the following difficulties:
- if you did not install the side panels, but used the room wall instead, it will be very difficult to insert elements for furniture hinges;
- An additional tool for drilling large blind holes may be required, not every home master has such a milling cutter.
If you plan to install sliding doors, it is easiest to fasten the rails for them using self-tapping screws, and fasten the rollers to the doors themselves. If the floors and canvases are fairly even, there will be no installation problems.
Depending on the material the door is made of, additional cladding may be required. It can be self-adhesive, PVC film, colorless varnish, etc.
Self-installation of doors for a sliding wardrobe will require maximum attention and accuracy. Often this design is complemented by a mirror blade for maximum ease of use. First of all, a back door is installed, for this you will need screws, screws, rollers, corners, a sealant. Fasten running profiles from above and from below. Set the profile of the handle, the corners from the bottom on both sides, running rollers. Similarly fasten devices for the front door.
If you plan to install a mirror, you must use a sealant along the entire length of the profile; if it is planned to insert a chipboard - a sealant is not needed. Lastly, the doors themselves are installed in the grooves of the profiles, and the contents of the cabinet are equipped with trempels, baskets and other useful storage elements. Doors should close and open smoothly, without jerking, unnecessary sounds.
If all stages of manufacturing a built-in closet are performed as accurately and accurately as possible, then repairing built-in closets will not take very long, and the design itself will bring only convenience and will help to keep order in the house. A better understanding of how to make a built-in cabinet with your own hands will help the video. Having better studied the process of how the installation occurs, you do not have to redo anything and everything will work out the first time.
 Installation of a compartment door
Video
Watch the video: How to Build Custom Built-Ins and a Fireplace Mantel (November 2024).


-
The City of Nazareth in Israel - Traveling in Gospel Places
The city of Nazareth is a settlement located in the north of Israel. It is home to 75 thousand inhabitants. The main feature is the largest city in the state, where Christians and Muslims coexist peacefully. Nazareth became famous primarily for its religious sights, because Joseph and Mary lived here, this is the city where Christ spent the first years of his life. ... -
-
-